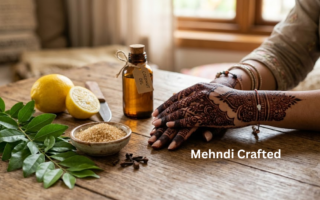
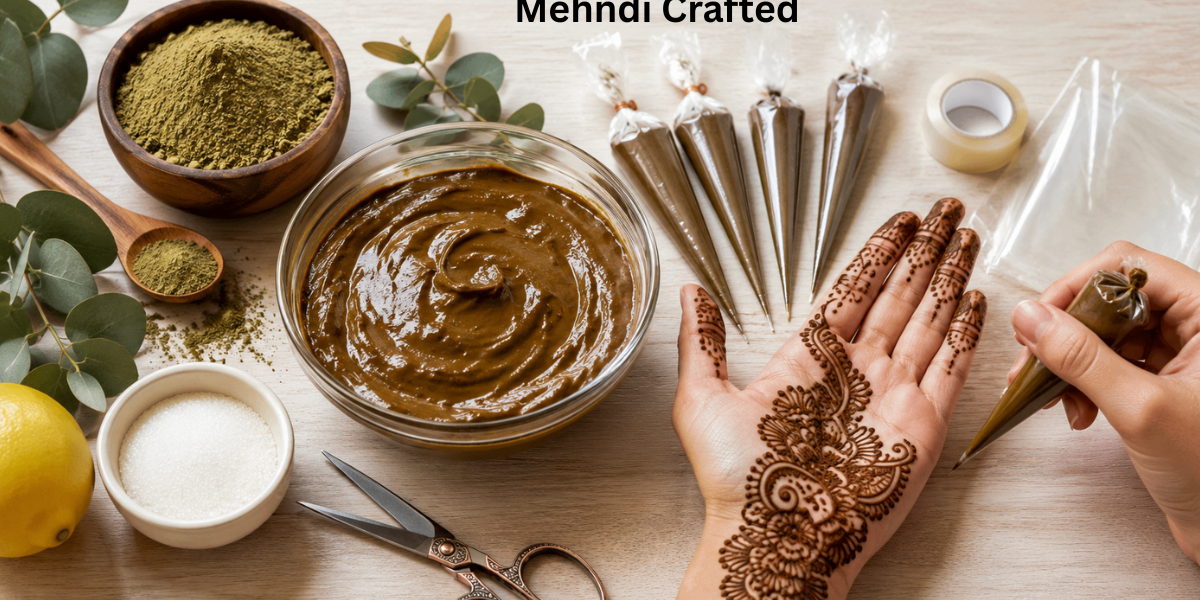
If you love applying beautiful henna designs, learning how to make mehndi at home can save money and give you fresher, darker stains than many ready-made cones. Homemade mehndi contains natural ingredients, has no harsh chemicals, and lets you control the consistency for smooth application.
Whether you’re preparing for Eid, Teej, Raksha Bandhan, Karwa Chauth, weddings, or any festive celebration, making your own mehndi paste and cone is easier than you think.
In this guide, you will learn how to make mehndi at home using natural ingredients step by step.
- How to make natural mehndi paste
- The best ingredients for dark color
- How to make a mehndi cone at home
- How to fill and seal the cone
- Tips for getting smooth flow and long-lasting stains
Let’s get started!
Why Learn How to Make Mehndi at Home
Many store-bought mehndi cones contain preservatives or artificial dyes that may irritate sensitive skin. Homemade mehndi is a healthier and more natural option.
Benefits of Homemade Mehndi
- 100% natural ingredients
- Better stain quality
- Chemical-free
- Budget-friendly
- Easy to customize
- Safe for most skin types
- Fresh aroma
- Smooth application
Ingredients Needed for How to Make Mehndi at Home
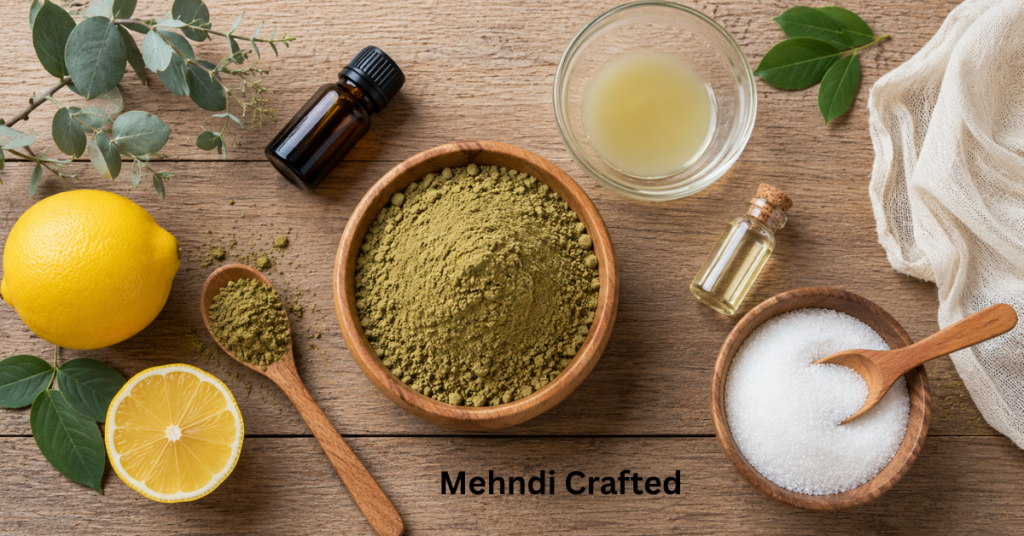
Learning how to make mehndi at home is easy if you follow the right steps.
Main Ingredients
- 100 grams natural henna powder
- 2–3 tablespoons lemon juice
- 1 tablespoon sugar
- 8–10 drops eucalyptus or lavender essential oil
- Warm water (if needed)
Optional Ingredients
- Black tea
- Coffee
- Clove water
- Rose water
How to Make Mehndi at Home: These optional ingredients may slightly improve the paste texture or fragrance, but high-quality henna powder remains the biggest factor in achieving a rich stain.
Equipment You’ll Need
Prepare these items before mixing.
- Glass bowl
- Plastic spoon
- Fine sieve
- Plastic wrap
- Measuring spoon
- Scissors
- Cellophane sheet
- Tape
- Rubber bands
- Ziplock bags
Step 1: Choose the Best Henna Powder
Good henna powder makes a huge difference.
Look for powder that is:
- Bright green
- Fresh-smelling
- Finely sifted
- Natural
- Free from chemicals
Avoid old or brown-colored powder because it usually produces weaker stains.
Step 2: Sift the Henna Powder
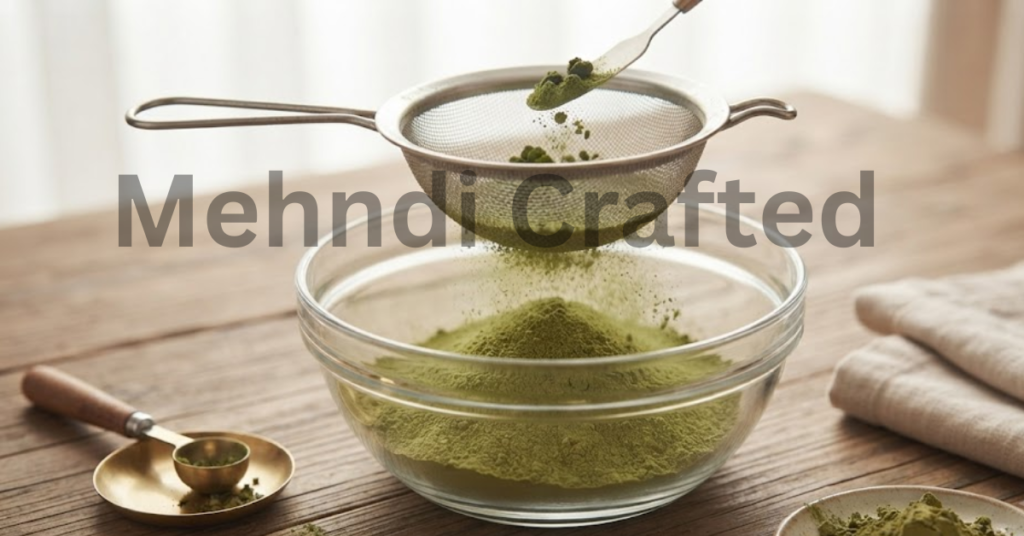
Before mixing, sift the henna powder through a fine sieve.
This removes:
- Tiny sticks
- Leaves
- Dust particles
- Lumps
A smooth powder means your mehndi cone won’t clog while applying intricate designs.
Step 3: Mix the Mehndi Paste
Add the sifted henna powder to a clean bowl.
Now add:
- Lemon juice
- Sugar
- Essential oil
Mix slowly until the paste becomes smooth.
If it feels too thick, add a few drops of warm water.
The ideal consistency should resemble thick yogurt or mashed potatoes.
Avoid making the paste too runny because it will leak from the cone.
Step 4: Cover and Rest the Paste
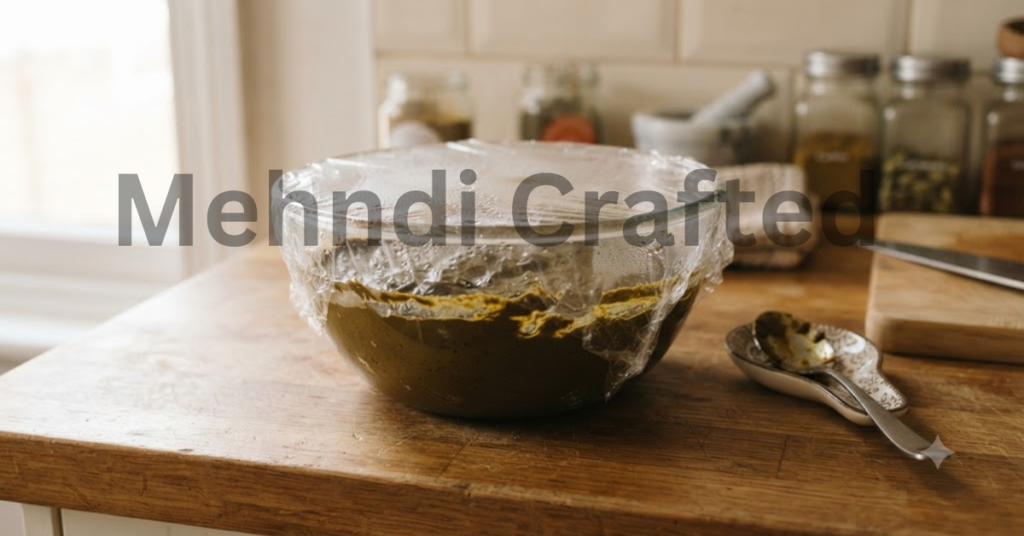
Once mixed, cover the bowl tightly with plastic wrap.
Allow the mehndi paste to rest for 8–12 hours at room temperature.
This resting period allows the dye to release naturally, helping produce a darker stain on the skin.
If your room is cold, you may need to leave it for a little longer.
How to Check if the Paste Is Ready
After resting, stir the paste well.
Your mehndi is ready if it:
- Feels smooth
- Spreads easily
- Has a rich earthy smell
- Leaves an orange stain after a few minutes on the skin
If it’s still too thick, add a few drops of lemon juice or water and mix again.
Tips for a Smooth Mehndi Paste
- Always use fresh henna powder.
- Mix in a glass bowl instead of a metal one.
- Add liquid gradually.
- Never rush the dye release process.
- Stir thoroughly before filling cones.
A smooth paste creates cleaner lines and makes applying detailed mehndi designs much easier.
Step 5: How to Make a Mehndi Cone
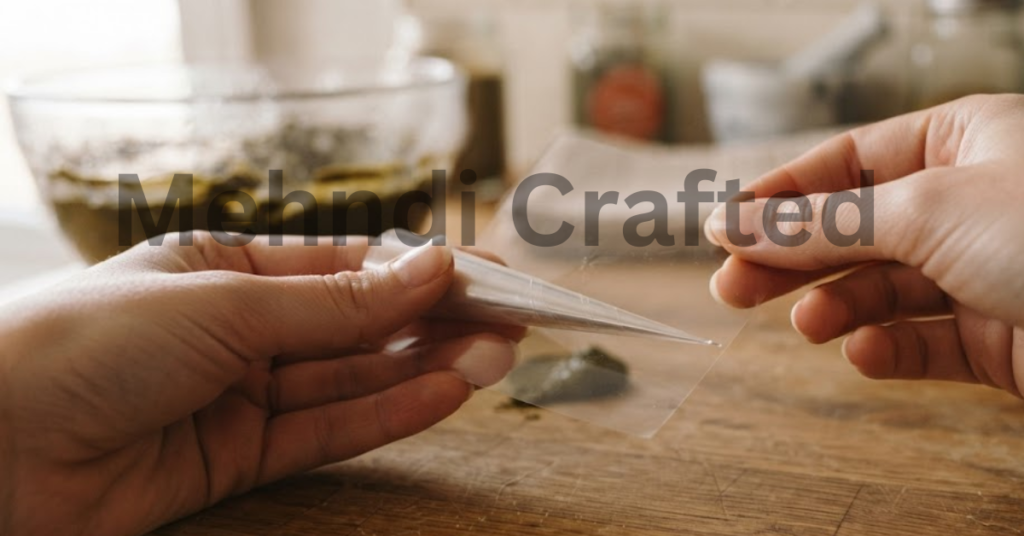
Once your mehndi paste is ready, it’s time to prepare the cone. A well-made cone helps you create neat and detailed henna designs.
Materials Needed
- Cellophane sheet
- Transparent tape
- Scissors
- Rubber band
- Homemade mehndi paste
Instructions
- Cut a rectangular piece of cellophane.
- Fold one corner to form a sharp cone.
- Roll the sheet tightly until the tip is very fine.
- Secure the cone with transparent tape.
- Make sure there are no gaps where the paste could leak.
Pro Tip: The finer the cone tip, the easier it is to draw intricate mehndi patterns.
Step 6: Fill the Mehndi Cone
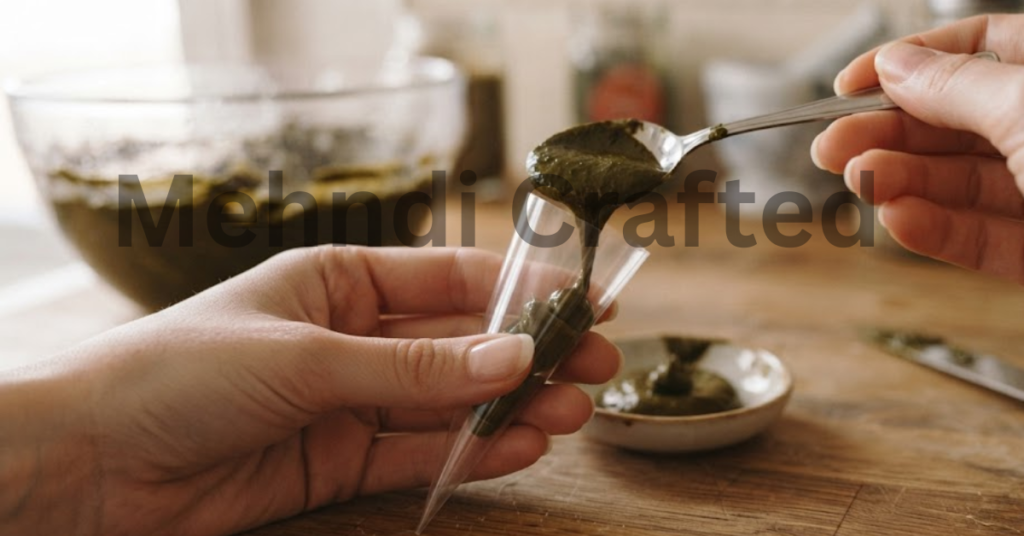
After making the cone, fill it carefully.
Easy Filling Method
- Place the cone inside a glass.
- Fold the top edges outward.
- Use a spoon or piping bag to add the mehndi paste.
- Fill only two-thirds of the cone.
Avoid overfilling, as it makes the cone difficult to hold and may cause leaks.
Step 7: Seal the Cone Properly
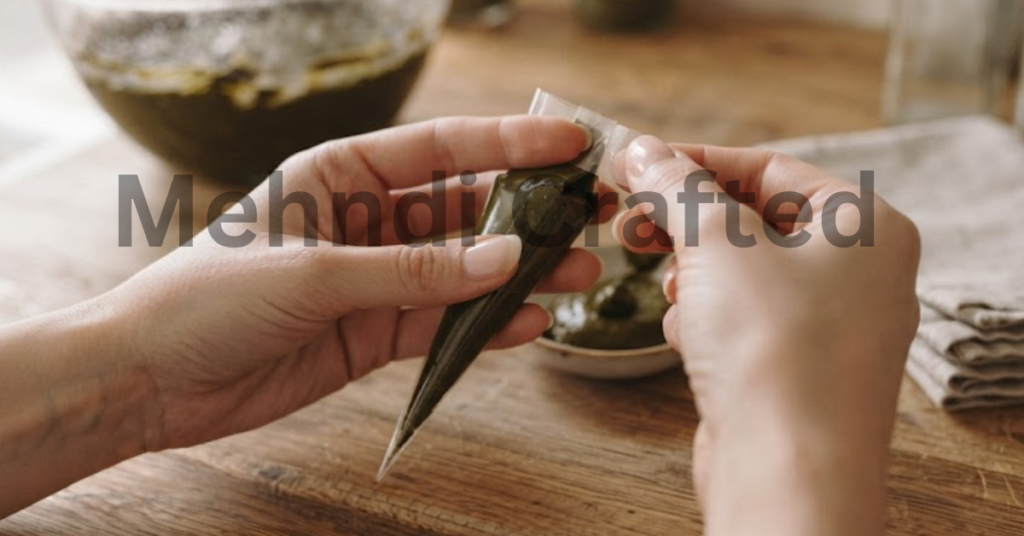
Once filled:
- Gently press out any trapped air.
- Fold the open end two or three times.
- Secure it with tape.
- Wrap a rubber band around the top for extra support if needed.
A tightly sealed cone prevents paste from drying out.
Step 8: Test the Cone
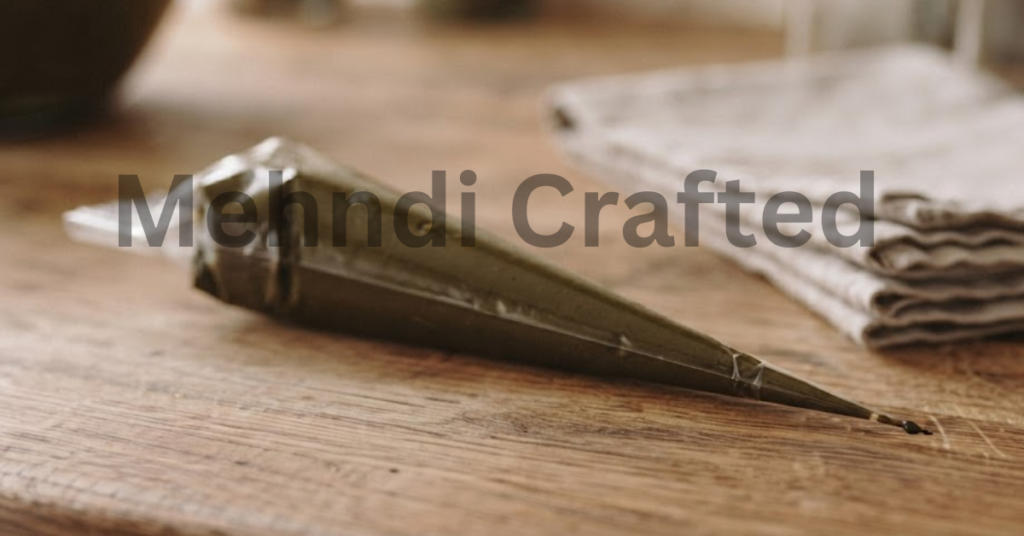
Before applying mehndi to your hands, test the cone on paper.
Check that:
- The paste flows smoothly.
- The lines are even.
- The tip is not blocked.
- There are no leaks.
If the flow feels slow, trim the cone tip slightly.
How to Store Homemade Mehndi Cones
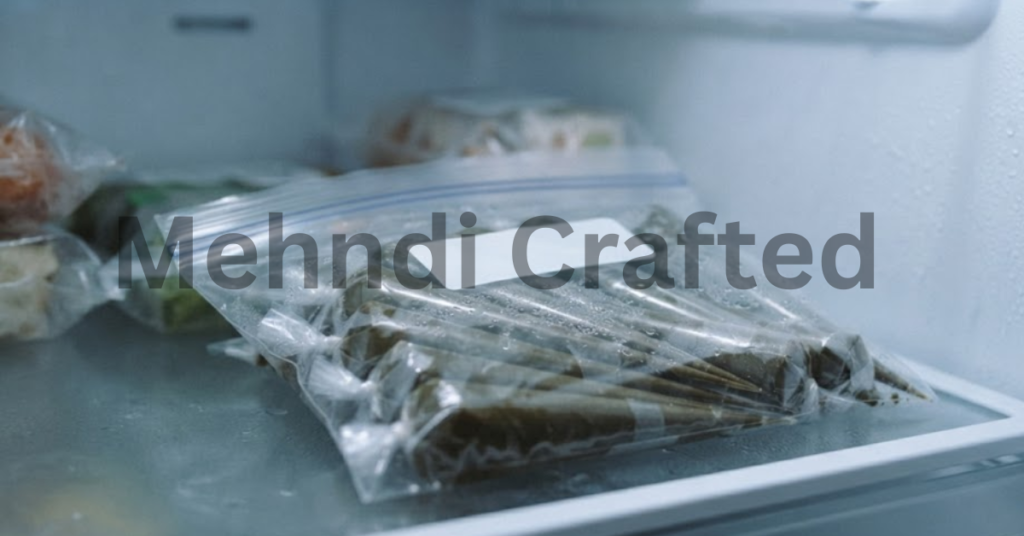
Fresh mehndi stays best when stored correctly.
Short-Term Storage
- Refrigerate for up to 3–5 days.
Long-Term Storage
- Freeze for up to 3 months.
- Place each cone in an airtight Ziploc bag.
- Thaw at room temperature before use.
Proper storage helps preserve the dye and keeps the paste fresh.
Tips for a Dark Mehndi Stain
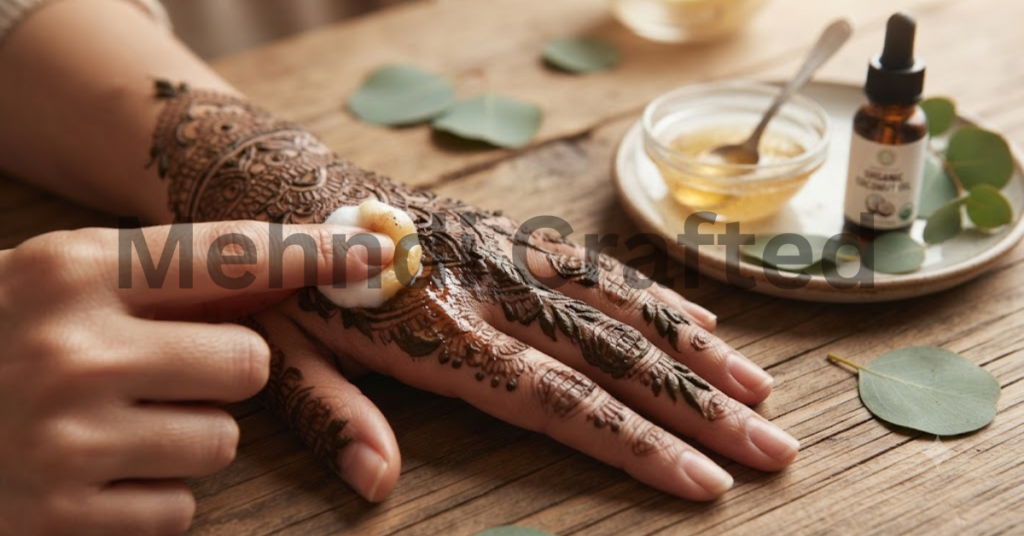
This method of how to make mehndi at home gives a darker and longer-lasting stain.
- Use fresh, natural henna powder.
- Let the paste rest for 8–12 hours before filling the cones.
- Leave the mehndi on your skin for at least 6–8 hours.
- Apply a lemon and sugar mixture after the paste begins to dry.
- Keep your hands warm after removing the dried mehndi.
- Avoid washing your hands with water immediately after scraping off the paste.
- Apply natural oils like coconut or mustard oil before washing.
Common Mistakes to Avoid
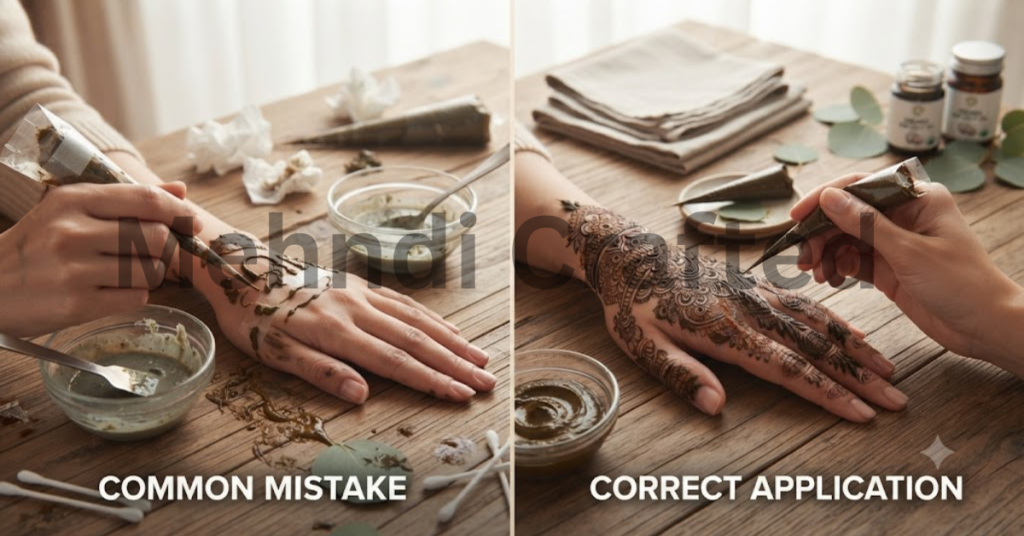
Many beginners make small mistakes that affect the final stain.
Avoid these common errors:
- Using old henna powder.
- Making the paste too watery.
- Skipping the resting time.
- Filling the cone.
- Making the cone tip too large.
- Using metal bowls for mixing.
- Washing the mehndi off with water instead of scraping it off.
Homemade Mehndi vs Store-Bought Mehndi
| Homemade Mehndi | Store-Bought Mehndi |
| Natural ingredients | May contain chemicals |
| Fresh dye release | Can lose freshness over time |
| Better control over consistency | Fixed consistency |
| Budget-friendly | Usually more expensive |
| Safer for sensitive skin | May irritate some people |
Who Should Make Homemade Mehndi?
Homemade mehndi is perfect for:
- Beginners
- Brides
- Mehndi artists
- Festival celebrations
- DIY beauty lovers
- Anyone who prefers natural skincare products
Making your own mehndi allows you to enjoy fresh, chemical-free henna with better color and smoother application.
FAQs
1. How do you make mehndi at home naturally?
To learn how to make mehndi at home, you need fresh henna and proper resting time. Mix fresh henna powder with lemon juice, sugar, and a few drops of essential oil. Let the paste rest for 8–12 hours before filling it into a cone.
2. How long should homemade mehndi rest?
For the best dye release, homemade mehndi should rest for 8–12 hours at room temperature. In cooler weather, it may need a little longer.
3. Can I make a mehndi cone without cellophane?
Yes. If cellophane is unavailable, you can use food-grade plastic sheets or disposable piping bags. However, cellophane creates a finer tip and is the preferred choice for detailed designs.
4. Why is my homemade mehndi not giving a dark stain?
A light stain may be caused by old henna powder, insufficient resting time, low-quality ingredients, or removing the paste too early. Fresh henna and proper aftercare usually produce a darker color.
5. How long can I store homemade mehndi cones?
Store homemade mehndi cones in the refrigerator for 3–5 days or in the freezer for up to 3 months. Always keep them in an airtight bag to maintain freshness.
6. What is the best essential oil for mehndi?
Eucalyptus, lavender, tea tree, and cajeput essential oils are commonly used because they help improve dye release and enhance the fragrance of the mehndi.
7. How do I keep my mehndi cone from clogging?
Use finely sifted henna powder, mix a smooth paste, and make sure there are no lumps before filling the cone. Always test the cone before applying mehndi.
8. Is homemade mehndi safe for all skin types?
People often search for how to make mehndi at home for festivals and weddings. Natural homemade mehndi is generally safe for most people. If you have sensitive skin or allergies, perform a small patch test before applying it to larger areas.
Final Tips for Perfect Homemade Mehndi
Before you begin, remember these simple tips:
- Always choose fresh, high-quality henna powder.
- Sift the powder carefully for a smooth paste.
- Allow enough time for dye release.
- Make a tightly rolled cone with a fine tip.
- Store extra cones in the freezer.
- Leave the mehndi on your skin for several hours to achieve a richer stain.
Following these steps will help you create smooth, easy-to-use mehndi cones and beautiful, long-lasting henna designs.
Conclusion
Learning how to make mehndi at home and how to make a mehndi cone is a simple and rewarding DIY skill. Now you clearly know how to make mehndi at home step by step with natural ingredients. You can prepare fresh henna paste, create professional-looking cones, and enjoy darker, longer-lasting stains without relying on store-bought products.
Whether you’re getting ready for a wedding, Eid, Teej, Karwa Chauth, Raksha Bandhan, or simply love applying henna, homemade mehndi is a natural, affordable, and reliable choice. By following this complete guide, you’ll be able to make smooth mehndi paste, prepare leak-free cones, and achieve beautiful results every time.
Have you tried making homemade mehndi? Share your experience or favorite tips in the comments below!